¶ First Steps as a pilot

🇮🇹 Clicca qui per la versione in italiano
This guide will take you through creating a VATSIM account and setting yourself up to fly on the VATSIM network.
¶ Create a VATSIM account
First of all, you need to create a VATSIM account. This can be done here.
Be sure to carefully read the blue info-box at the top of the page before signing up!
¶ Study the training material and pass the exam
You have to study the New Member Orientation Training material and pass the respective exam before being able to connect to the network. You can find both the course and the exam on learn.vatsim.net. The training is organised in different modules, all of which need to be completed to access the exam.
¶ Install the appropriate pilot client
After you have passed the New Member Orientation Exam, you are almost ready to connect to the network. To do so, you have to install the appropriate client, depending on which flight simulator you are using.
- vPilot is compatible with MSFS2020 & 2024, FSX and P3D
- xPilot is compatible with X-Plane11 & X-Plane 12
¶ Set up model-matching
Model matching is what you need to make sure the planes you see on your screen match the actual aircraft type and airline that other VATSIM pilots are flying.
There are various solutions, again, depending on which flight simulator you are using. Below is a non-exhaustive list of the most popular ones.
- For MSFS2020 & 2024: FSLTL or AIG
- For P3D v4 & v5: AIG
- For X-Plane 11 & X-Plane 12: BlueBell CSL or X-CSL
X-Plane users will be prompted to automatically install BlueBell CSL when they open xPilot for the first time.
¶ Configure your pilot client
Once you have completed all previous steps, we have to configure the pilot client’s settings. Whether you are using xPilot or vPilot, you are going to need to configure a couple of things before connecting to the network. Click on the “Settings” button and:
- Insert your VATSIM CID and password
- Insert your name and home airport
- Select the correct audio input/output devices from the respective dropdown menus
- Set up your Push-To-Talk (PTT) button
- Test your microphone and check that the bar stays in the green band
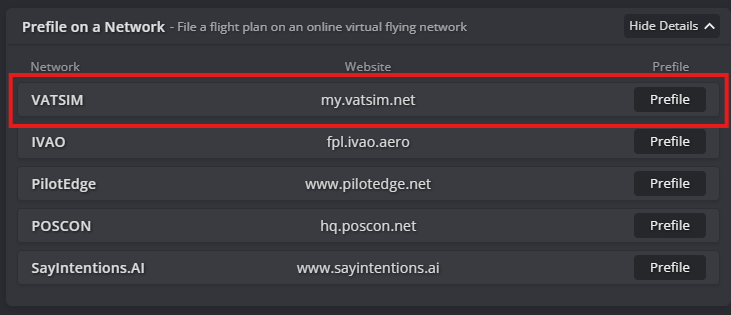
¶ File a flight-plan
For all IFR flights on VATSIM it is mandatory to file a flight-plan. While for VFR flights it is not mandatory to file a flight-plan, it is highly encouraged. To know more about which items are required, at a minimum, in an IFR flight-plan, refer to VATSIM CoC Section B10.
The flight-plan form can be found here. You must fill in the form with at least the minimum items described in the Code of Conduct.
If you have generated a flight-plan through SimBrief, you can export the flight-plan’s data to the form using the button at the bottom of the “View Flight Plan” page, as shown below.
¶ Connect to VATSIM for the first time
You are now ready to connect to VATSIM. Choose your simulator, spawn at an airport, open the pilot client and click “Connect”. A pop-up window will open, in which you will have to insert your callsign, aircraft type and SELCAL code, if any. When you click “Connect”, you will receive some messages in the text chat confirming that you are connected to the VATSIM network and that you are connected to the voice server.
Make sure to connect with the same callsign as the one you have filed in the flight-plan.
¶ Frequently Asked Questions
What can I use to see open ATC positions, traffic, and events?
VATSIM Radar is the best solution. It includes a real-time map showing all open ATC positions and VATSIM traffic, airport details, ATC bookings and events, statistics, and more.Do I need to know any useful chat command?
There are various universal chat commands that can be used on both xPilot and vPilot. Below is a list of the most important ones:.msg [callsign] [message] Sends a private message to the specified callsign.
.chat [callsign] Opens a new private chat tab with the specified callsign.
.wallop [callsign] [message] Sends a “wallop” to all supervisors on the network.
.com1 [frequency] Sets your COM1 frequency to the one you input.
.com2 [frequency] Sets your COM2 frequency to the one you input.
.sq [code], .squawk [code] or .xpdr [code] Sets your squawk code to the one you input.
.atis [callsign] Requests controller information for the specified callsign.
.wx [ICAO code] or .metar [ICAO code] Requests latest available METAR for the specified airport/station.
.ignore [callsign] Ignores the specified callsign, so that you do not see their aircraft in the simulator anymore.
.unignore [callsign] Un-ignores the specified callsign.